

Creating Your Own Simple Curtains from Fabric
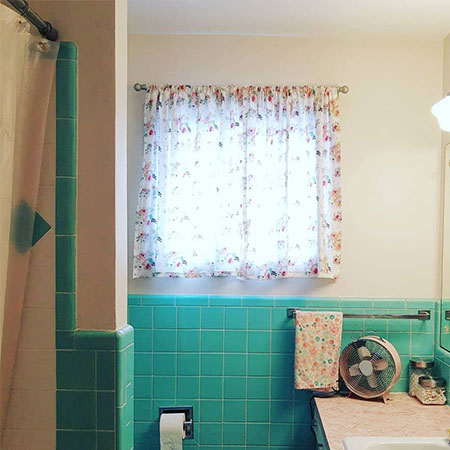
Whether you make your own curtains, alter already made ones to fit your space, or buy them to use “as is”, curtains are a great way to bring a room together and add a little fun to your space. In the past, I’ve altered already made curtains to fit the windows in my home. However, I decided to challenge myself to create curtains from scratch using a fabric I fell in love with from The Sewing Center. Keep reading to follow along with my process in creating my own bathroom curtains.
Curtain Making Process
1. Take Measurements
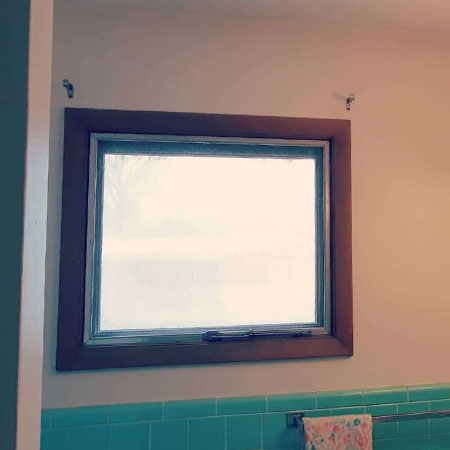
Measuring is the most important step of any project, and that’s coming from someone who hates measuring. It’s a love hate relationship. For the length of your curtains, measure from where they will hang to where you want them to end. This means you will need to start from the rod, or even a little above if you want ruffled fabric above the rod pocket. Make sure to give yourself extra room for error too. For the width of your curtains, the general rule is to double the width you need to cover and that’s how much fabric you need. In my case, my window measures 30” x 35” so I purchased two yards to create two curtain panels. Depending on the size of your window, you may need more panels. It’s always better to have too much, as opposed to too little, so the curtains look nice and full.
*Please note – If you are using patterned fabric, pay attention to and plan for the desired direction of the pattern and keep track of the top and bottom throughout the process.
2. Cut Your Fabric
Keep finishing edges in mind when figuring your fabric measurement needs! Cut your fabric after accounting for the following:
Sides and Bottom Seams:
You’ll want to double it over on the sides and bottom (fold and fold again about ½ inch). This will make the edges look nice and finished and not show any cut fabric. That means you’ll be taking away an extra two inches total from your curtain panel width and an extra inch from the bottom for seams. Again, math and measurement is not my jam. When in doubt, measure a few more times before you make any cuts.
Top of Curtain Finishing:
I went with a simple rod pocket for this project. I originally wanted to add some fabric above where the rod pocket starts because I like the look of the ruffled fabric above the rod pocket. However, I didn’t have enough fabric to do so, so a standard rod pocket was my next best option. I gave myself an extra two inches for this finish.
3. Fold, Pin, Iron, and Sew
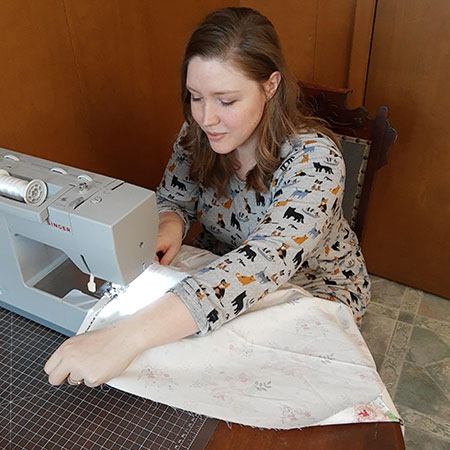
Sew your seams on the sides first after doing the double fold and ironing in place. These are simple, straight lines up the length of the fabric. Then, sew the bottom seam after the double fold and ironing.
Next, you will measure your curtain length and fold accordingly for the rod pocket to be sewn. I did this step after I had the bottom seam completed so I could easily remove the extra. Fold it over and measure from the top of the fold to the bottom of the curtain. Keep folding until it is the desired length and then pin and iron so that crease stays exact. Then, tuck the fabric under so you can’t see the cut edge. If you have a skinny rod, measure about an inch and a quarter down from the top of the curtain and that’s where you can put your seam for your rod pocket. Sew straight across and your pocket is created!
4. Finishing Touches
Everything should now be sewn and tidy! I gave my curtains another quick ironing before hanging so that my edges were nice and clean.
You Did It! That’s how you sew your own simple curtains
Now your curtains are ready to hang! Creating curtains from fabric is a little more complicated than altering curtains that are pre-made, but it can be done in just a couple hours.
Thank you for reading! Check out my Etsy shop for other crafts and artwork I have for sale. You can also view my artwork here.
